Latte art, originally introduced as free pouring by David Schomer in the early 90s, has become an esteemed art form in itself. With competitions, masterclasses and qualifications creating caffeinated ripples globally.
Although most latte art designs require skill and refined technique, this article will outline the simple techniques and how to begin attempting them at home:
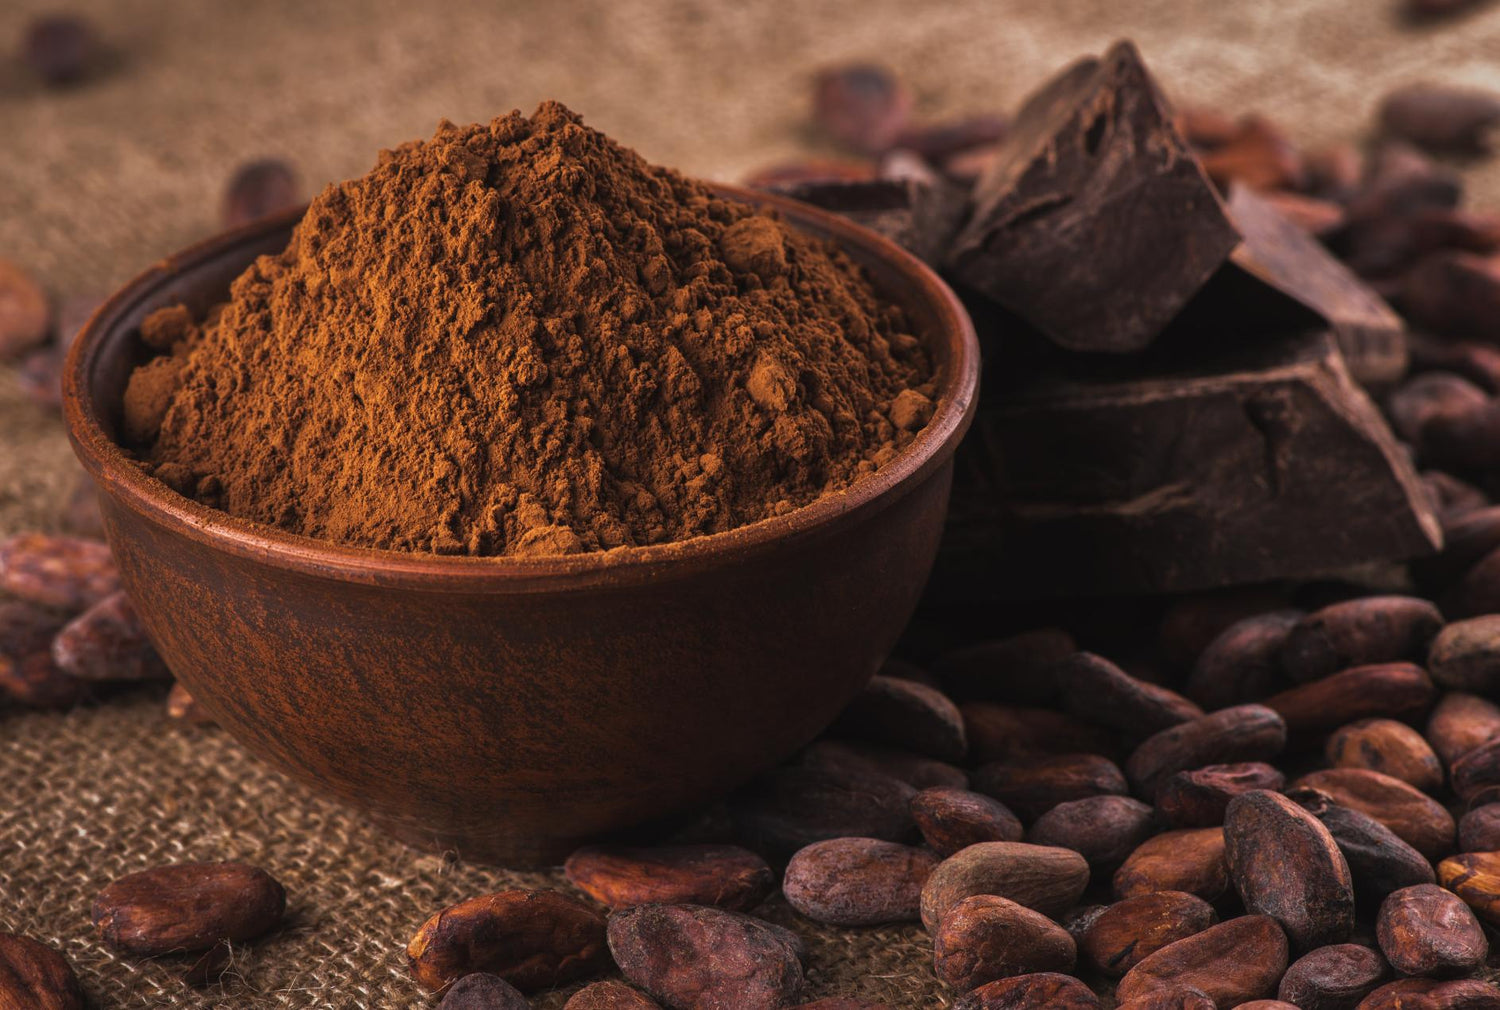
Preparation: Espresso
Before you start steaming your milk, it's best to get your espresso ready! Ensuring a good layer of crema, is really important for creating latte art, for a number of reasons:
Visual Contrast: Crema provides a dark, rich backdrop against which the steamed milk can create a visual contrast. This contrast is essential for the clarity and visibility of the intricate patterns and designs in latte art.
Surface Tension: The crema has a unique texture and surface tension that helps the microfoam float and spread out properly when you come to pouring your milk. This interaction between the crema and the milk foam allows for more control over the milk as it's poured, which is essential for creating detailed designs.
Consistency: Crema indicates a well-extracted espresso, which means the coffee has the right consistency and body. This consistency ensures that the espresso and milk blend well together, allowing for smoother and more precise pouring.
Flavour Integration: While not directly related to the visual aspect of latte art, the crema contributes to the overall flavour and mouthfeel of the drink. A good crema enhances the taste experience, complementing the aesthetics of the latte art.
Here's a few of the key things you'll need, to achieve the best possible espresso, perfect for a latte:
1. Fresh Coffee Beans
- Use Freshly Roasted Beans: Coffee beans should be used within a few weeks of roasting for the best crema. Stale beans result in less crema.
- Proper Storage: Keep beans in an airtight container, away from light, heat, and moisture.
2. Proper Grind Size
- Espresso Grind: Use a fine grind size, similar to table salt. Too coarse or too fine can result in poor extraction and lack of crema.
- Consistent Grind: A high-quality burr grinder is recommended for consistency.
3. Correct Dose
- Amount of Coffee: Use 18-20 grams of coffee for a double shot. Too little coffee can lead to under-extraction, while too much can cause over-extraction, and impacting the crema you're left with.
4. Tamping Technique
- Even Tamping: Apply consistent pressure (around 30 pounds) to tamp the coffee evenly. An uneven tamp can cause channeling and uneven extraction.
- Level Surface: Ensure the coffee bed is level after tamping.
Now that your crema is ready, let's look at how we prepare the milk for a latte.
Preparation: Milk
In preparation for the perfect pour it is important to have the basics covered. From the correct mug, jug, amount of milk and actually steaming, here's what you need to know:
1. What is the best mug for latte art?
The first step to any successful latte art is having the perfect mug. Although late art can be successful in any mug, there are some shapes and sizes that will allow for a better pouring experience and result. Ideally your mug should be “bowl shaped” this means an equally tall and wide structure and on the slightly larger side. This will give the depth and angle for a higher level of control and will give the artist enough of a surface to create patterns that are not too small.
2. What kind jug/pitcher do I need?
The best container to steam milk in is a stainless steel, spouted coffee mug. This will ensure the milk you are steaming doesn’t get too cold mid pour and begin losing its structure. The spout will also help to create clearly defined lines when you are pouring.
3. How much milk do I need:
When you start to steam your milk (milk of any kind, from full fat, to oat, to almond) part of the art of a pretty latte is ensuring your fill level is right, and that the foam starts to pour at the correct time.
Putting too much milk in your jug/pitcher will mean you'll still be filling up with thinner milk near the top of your cup, and your foam will still be in the jug, leaving you unable to create your design.
So, for a 6oz cup - a normal medium cup in the UK, pour just under 6oz of milk into your jug, to account for the expansion as you steam.
4. Heating/steaming your milk:
Begin by steaming your dairy milk to 60-65c avoid curdling by not heating the milk more than 75c. The same rule applies for other milk varieties of milk, with a few exceptions. Be sure to research the ideal temperature, if you are using dairy alternatives, before you begin pouring!
5. What are the final preparations to make before pouring?
The final step is to ensure you have filled your mug with espresso, this is so that the final beverage is not too milky or too strong once poured. It is essential to tap the mug and remove any bubbles from your espresso. This will ensure your milk and microfoam is the right texture when you pour - to create a smooth surface for your latte art, ensuring your design is clearly defined.
How to achieve a Classic Heart design:
Begin by half filling your mug with espresso. Heat and froth your milk. Begin pouring the milk into the espresso in clockwise circular motions. Once the mug is ¾ full begin pouring the milk in one spot, shaking the container slightly. Once the mug is filled to your liking, pour the milk in a swift motion away from you.
How to achieve a Tiered tulip design:
The tiered tulip is an ideal design to practise with. This design is extremely versatile so can be used to practise a number of techniques.
To begin, pour a small amount of milk in the centre of the beverage. Next, do the same but at the top of the mug, repeat this step as many times as you like. To finish the design, gently swoop the milk back on itself to create a tulip shape.
How to achieve a String of hearts design:
To create a string of hearts, it is important to have mastered the individual heart design. The first step of this design is to pour tiny dots where you would like your hearts to be placed, preferably around the edge of the mug. To finish the design off, similarly to the classic heart, pour a line quickly through the centre of all the hearts at once. Almost like a dot-to-dot. Alternatively, use a toothpick or cocktail stick to refine the heart shape, for an easier challenge.
How to achieve a Spiderweb design:
This straightforward design will require a toothpick, cocktail stick or equivalent. Begin by simply pouring a medium pool of frothed milk in the centre of the beverage. Take your cocktail stick and begin bringing the coffee through the milk in a spider web type fashion. This stage is a great opportunity to get creative and make a unique design of your liking.
How to create stencil designs:
For a really simple yet effective way to create cute patterns on your coffee, pour a generous amount of steamed milk on the top of your espresso to create a cover. Gently place a stencil on the top of the foamy milk and sprinkle chocolate powder or extremely finely ground coffee over the stencil. Remove the stencil to see your design!
To see our attempts at these latte art techniques, follow the Hot Drink Company social media accounts!